Tags: Ceiling Beams, Faux Wood Beams, Tongue and Groove Ceiling, Wood Beams, Wood Ceiling
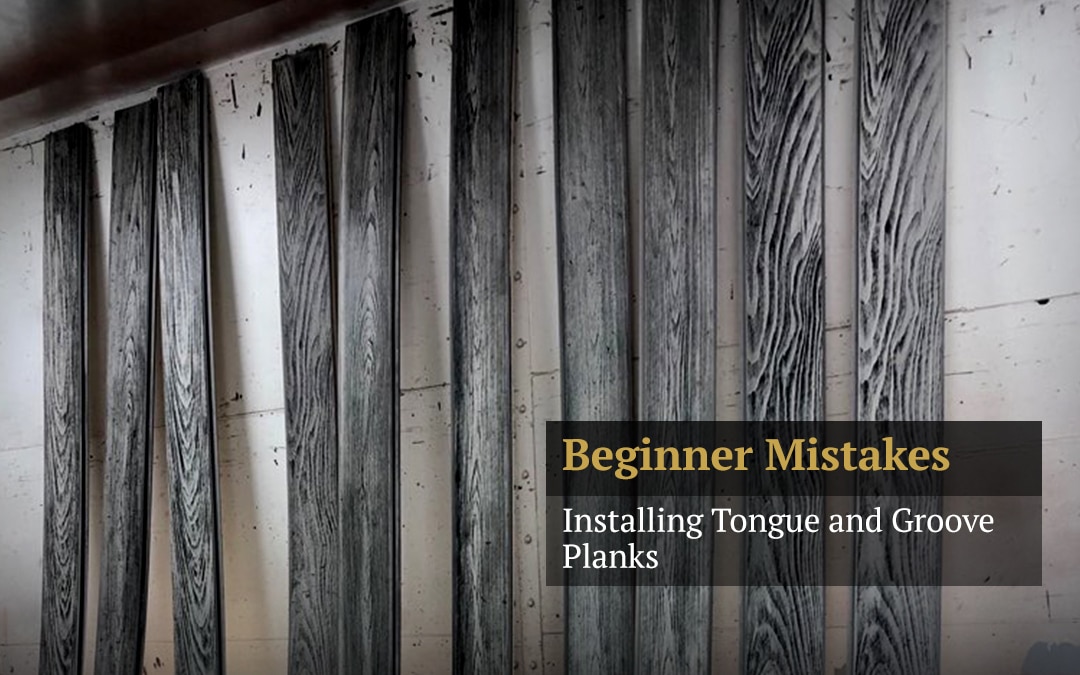
Tongue and groove planks refer to matching planks that slot together. Fit the ‘tongue’ from one edge into the ‘groove’ of the next plank. It gives a seamless finish and makes it easy to get a good fit.
The technique actually dates to the 19th century. One of its benefits is that you don’t get nails sticking up from the wooden surface.
There are a few tricks you can use to get an easy installation. Read on to learn which mistakes to avoid when installing tongue and groove planks.
Let Planks ‘Settle’ Before Installation
When you buy tongue & groove wood planks, do so about a week before you plan to install them. Store them in the room where you’re going to fit them. This lets the planks get used to the temperature and humidity in the room.
If you don’t do this, the planks can shrink or expand due to a temperature change. This can lead to gaps or other problems when you try to fit them.
It’s also a good idea to finish the planks before you install them. Otherwise, when the wood contracts, you’ll see unsightly strips of unfinished wood.
Finishing the planks before installation fixes this problem. If the planks do shrink, you won’t see any ugly strips of unfinished wood.
Or fit T&G faux wood planks and avoid the problem altogether.
Fit the Right Side of the Board Facing Out
Some planks have a smooth side and a rough side. The smooth side should be fitted so it faces outward.
Check your planks before you install them. Make sure the rough side is against the wall, ceiling, or floor.
This will give a more professional finish. Alternatively, fit pre-primed tongue & groove planks. These planks are ready to install.
Or you can choose faux wood planks. These give the appearance of wood without the downsides of shrinkage or rough surfaces.
Use Battens When Installing Tongue and Groove Ceilings
Gravity helps when you install tongue and groove planks on a floor. You don’t have to worry about what you’ll fix them to.
That becomes a real issue on a ceiling. Thankfully, there’s a solution. Install battens across the ceiling so you have something solid to nail the planks to.
This also gives you a flat surface, which solves potential installation problems caused by an uneven ceiling. You’ll also find it easier to install faux wood beams to a flat ceiling.
Make sure you keep the tongues pointing towards you as you install. Then you can drive the nail into the shoulder of the tongue. The groove of the next plank hides the nail, giving you a seamless finish.
Enjoy Your New Surface
Now you know how to make installing tongue and groove planks much easier. These tips work for wooden planks but we recommend faux wood tongue and groove planks.
They have a perfect fit and they won’t shrink or warp like real wood. That gives you a great finish that lasts.
Want to find out more about tongue and groove planks? Contact us today and we’ll help you out.