Tags: Ceiling Beams, Decorative Wall Panels, Faux Wood Beams, T&G Ceiling Planks, Tongue and Groove
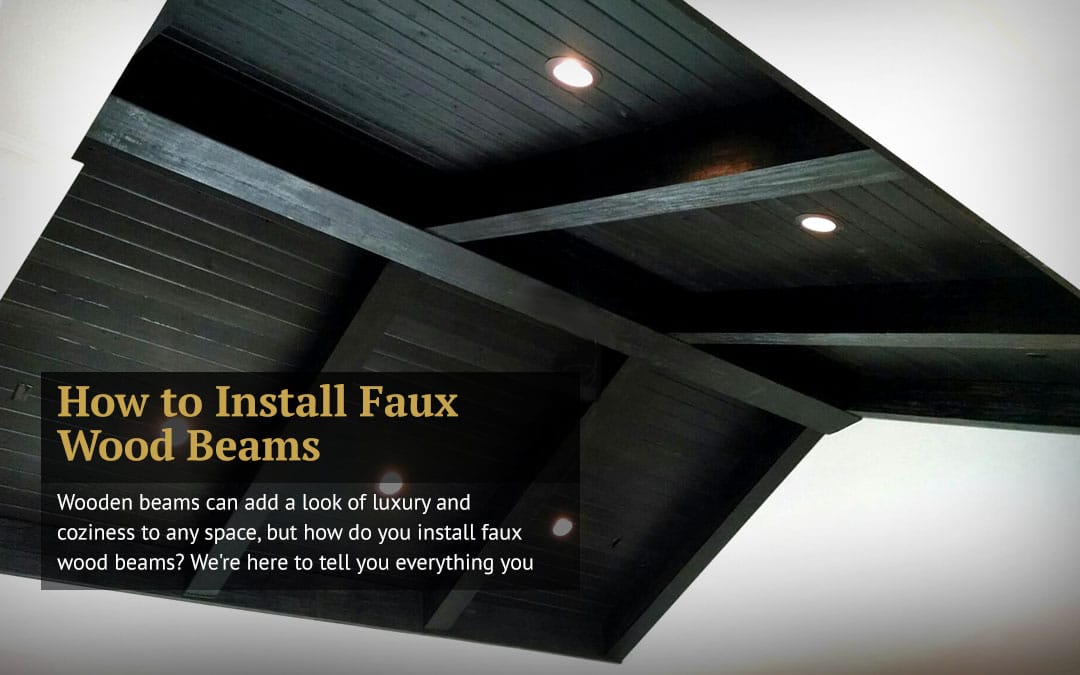
There’s nothing like the aesthetic that wood beams give to a space. They add warmth and charm and an undeniable character to a room.
But what if you’re not lucky enough to own a space that comes with vintage beams in place?
The best new trend in design is to install faux wood beams. Are you wondering how to install faux wood beams, so they look and feel authentic?
Read on to learn the step in the installation process.
How to Install Faux Wood Beams?
It’s crucial as you consider the steps of how to install faux wood beams in the ceiling that you do some careful planning. This is not a time when you want to measure wrong or, worse yet, cut wrong.
You want to gather your tools so you’re prepared for the process. You will need:
- Stud finder
- Chalk line (or painter’s tape)
- Caulk gun
- Measuring tape
- Premium Construction Adhesive or Liquid Nails
- Ladder
- Saw
- Blocks of wood for anchors
- Mollies
- Caulk wood filler
One of the most important steps in the installation process is planning, so take your time.
Plan Layout of New Beams
One of the first steps in learning how to install a faux wood beam is to consider your room layout. Decide on your beam sizes and finishes.
You should tape out where you expect your beams to go to get a visual image of what to expect. This will also help with placement. You want to tape it so it would fit inside the sides of the beam.
Acclimate Wood
Before you even consider installation, you want to give your wood time to acclimate in the space.
Wood will shrink and expand based on the humidity and moisture in a space. You want the wood to have time to make all those adjustments before you even consider installation.
Locate Joists
You will want to use the stud finder and locate the ceiling joists in the room. You’ll want to mark their location so you can use them as a strong anchor for the beam.
Tape Beam Location
If you didn’t tape off the beam location when you first considered location, you’ll want to do this now. This is when you want to be precise, using the tap lines as a guide for placement.
Attach Anchors
Next, you’ll want to use the small blocks of wood and attach them to the joists you have already marked.
You want to attach those anchor blocks to the joists. Start a few feet from the wall. Then space your anchors out and make sure they are attached to a joist.
Measure and Cut
Measure the distance for your beam. Then measure a second time to verify. Then cut your beam.
Use Adhesive, Anchor, and Patch
On the inside sides of the beam that will be against the ceiling, add wood adhesive. Now is an excellent time to have an extra set of hands.
Lift the beam into place and attach the beam to the woodblocks.
Finally, you’ll want to patch your anchor spot with wood filler.
Knowing How to Install Faux Wood Ceiling Beams
Now that you know how to install faux wood beams, you’ll be thinking about the best place for them throughout your home.
If you’re interested in learning more about your options for a faux wood beam, let us help you decide. Contact us to see our selection of wood beams you could use in your home.